使用sing-box手搓anytls协议
- 以下配置需要自行去掉注释
服务端(运行在服务器里)
curl -fsSL https://sing-box.app/install.sh | sh
配置路径:/etc/sing-box/config.json
自签证书:
openssl req -x509 -nodes -newkey ec:<(openssl ecparam -name prime256v1) \
-keyout /etc/sing-box/key.pem \
-out /etc/sing-box/cert.pem \
-subj "/CN=bing.com" \
-days 3650 && \
chmod 600 /etc/sing-box/key.pem && chmod 644 /etc/sing-box/cert.pem
服务端节点配置:
{
  "log": {
    "level": "info"
  },
  "inbounds": [
    {
      "type": "anytls",
      "tag": "anytls-in",
      "listen": "::",
      "listen_port": 8443, // 节点端口
      "users": [
        {
          "name": "sekai",  // 名称随意填写
          "password": "aHR0cHM6Ly9ibG9nLjUyMDEzMTIwLnh5ei8=" // 协议认证密码
        }
      ],
      "tls": {
        "enabled": true,
        "insecure": true, // 允许不安全
        "server_name": "bing.com", // 自签证书的域名
        "certificate_path": "/etc/sing-box/cert.pem",  // 自签证书公钥
        "key_path": "/etc/sing-box/key.pem" // 自签证书私钥
      }
    }
  ],
  "outbounds": [
    {
      "type": "direct",
      "tag": "direct-out"
    }
  ],
  "route": {
    "rules": []
  }
}
命令:
重启 systemctl restart sing-box
停止 systemctl stop sing-box
开启开机自启 systemctl enable sing-box
查看运行状态 systemctl status sing-box
查看日志 journalctl -u sing-box --output cat -e
客户端(运行在本地设备)
客户端配置示例:
config.json
{
  "log": {
    "level": "warn",
    "timestamp": true
  },
  "inbounds": [
    {
      "type": "mixed",
      "tag": "socks",
      "listen": "127.0.0.1",
      "listen_port": 10808 // 本地入站端口
    }
  ],
  "outbounds": [
    {
      "type": "anytls",
      "tag": "anytls-out",
      "server": "9.9.9.9", // 服务端地址
      "server_port": 8443,  // 节点端口
      "password": "aHR0cHM6Ly9ibG9nLjUyMDEzMTIwLnh5ei8=",  // 协议认证密码
      "tls": {
        "enabled": true,
        "insecure": true, // 允许不安全
        "server_name": "bing.com"  // 自签证书域名
      }
    }
  ],
  "route": {
    "rules": [
      {
        "inbound": ["socks"],
        "outbound": "anytls-out"
      }
    ]
  }
}
客户端clash-verge配置文件
proxies:
- name: anytls节点
  type: anytls
  server: 9.9.9.9 # 服务端地址
  port: 8443 # 节点端口
  password: "aHR0cHM6Ly9ibG9nLjUyMDEzMTIwLnh5ei8=" # 协议认证密码
  idle-session-check-interval: 30
  idle-session-timeout: 30
  min-idle-session: 0
  tls: true
  skip-cert-verify: true
  servername: bing.com # 自签域名
1:订阅——新建——类型选Local——名称随便填——确认——右键编辑文件——替换以上全部文件
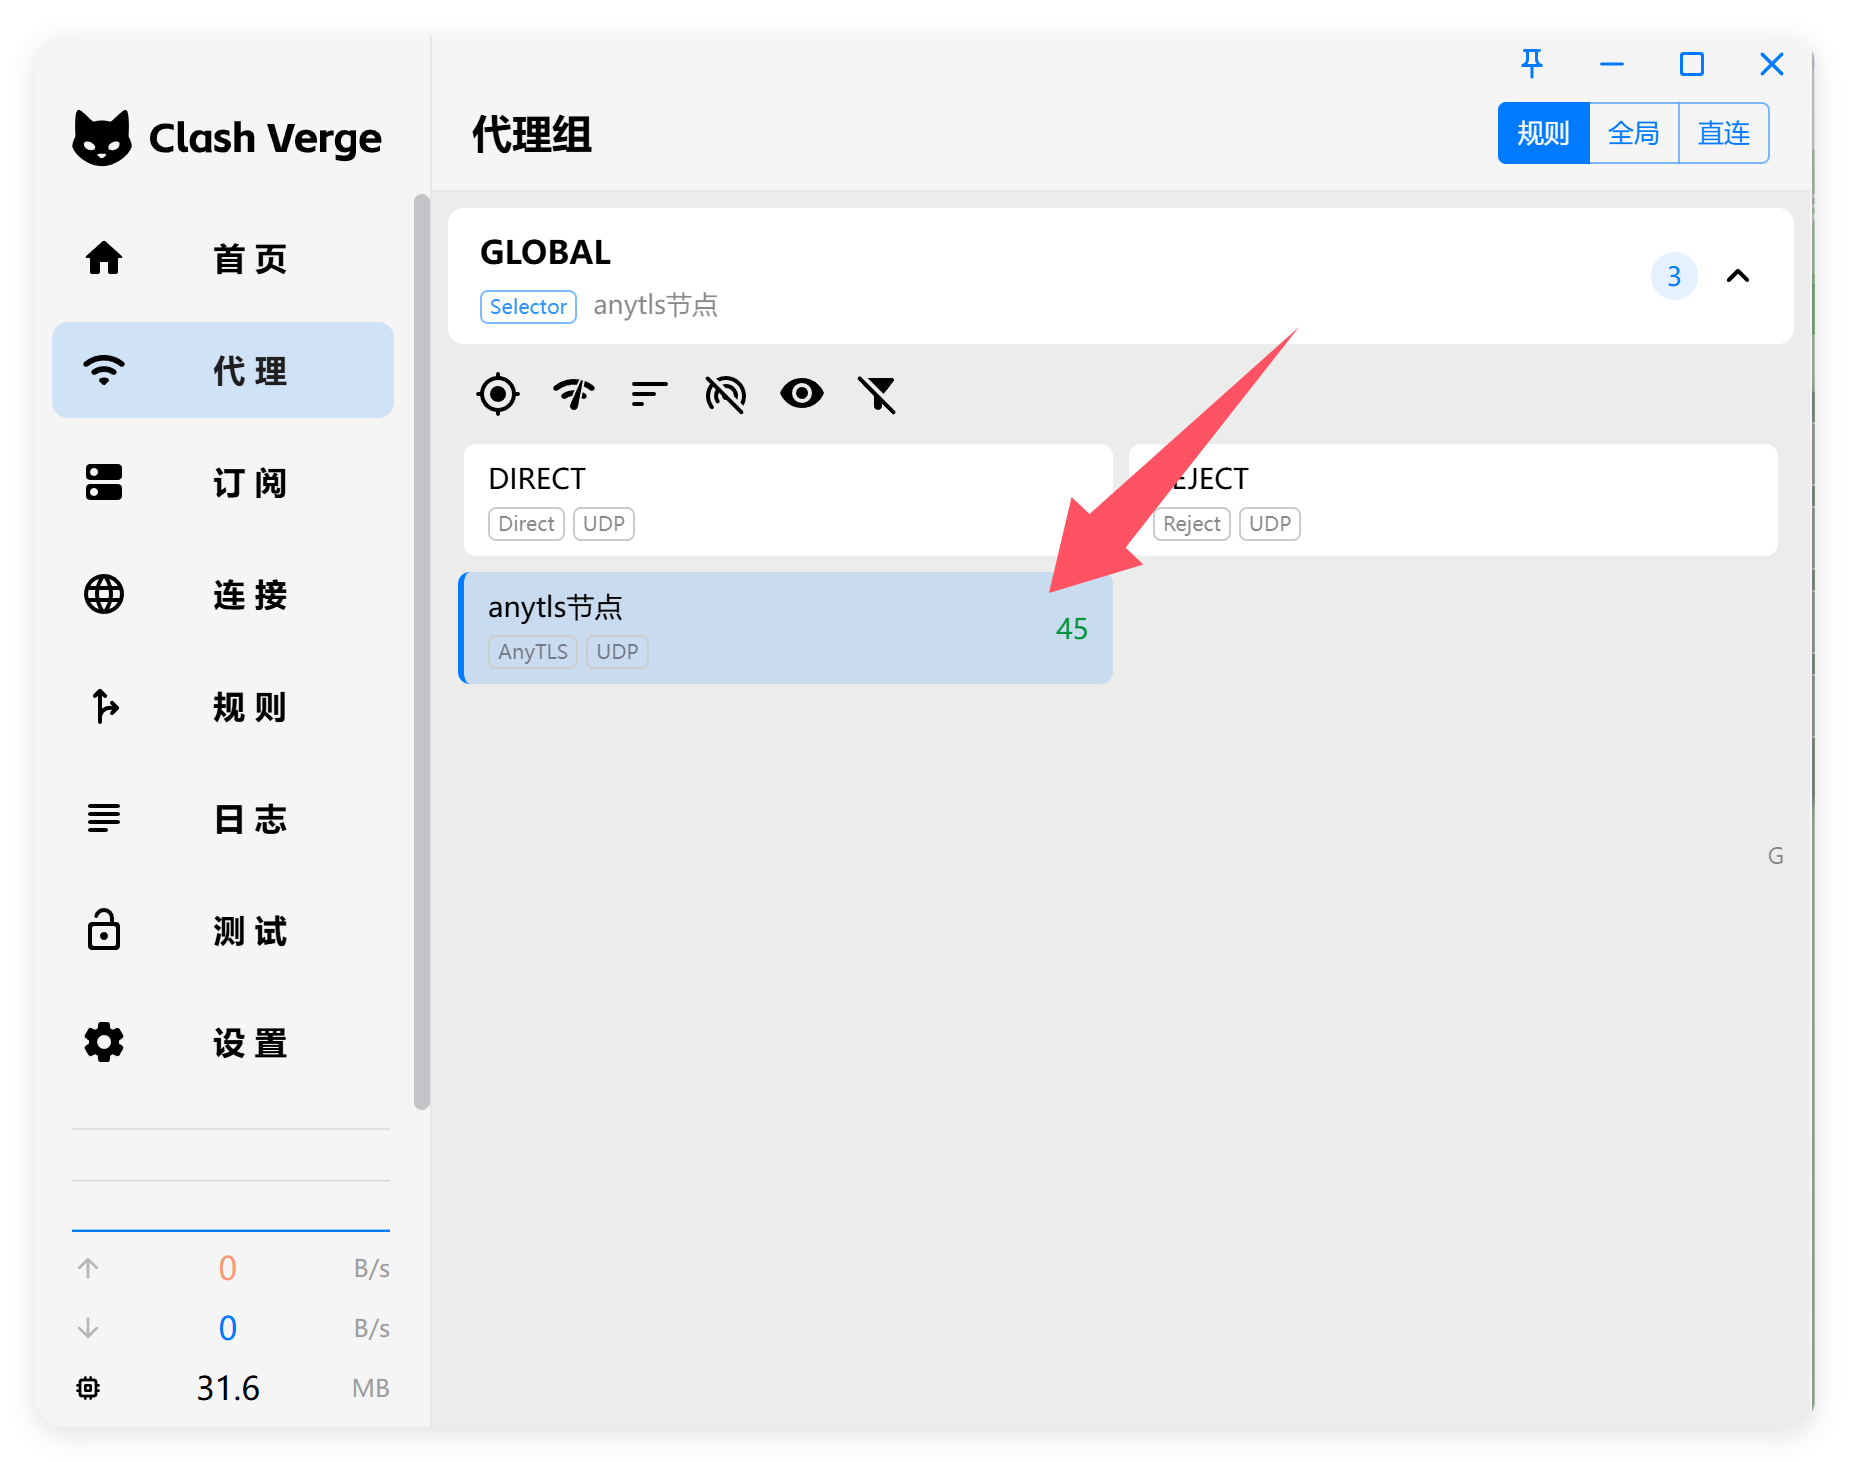
2:此时代理菜单里就可以看到该节点: